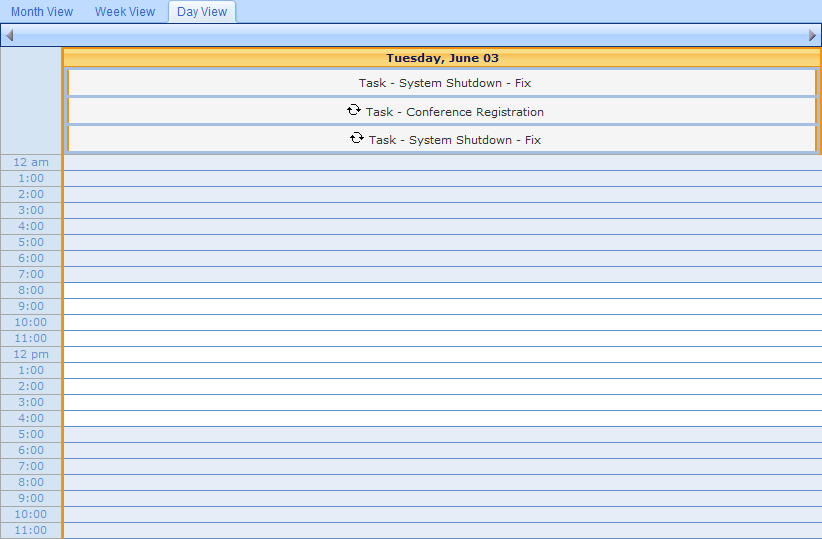
The calendar displays meetings, task due dates and times, and dates and times that contacts, files, spreadsheets, and other items are added to the system and also the ability to Add a Meeting. Calendar view keeps your calendar current with task deadlines as you work.
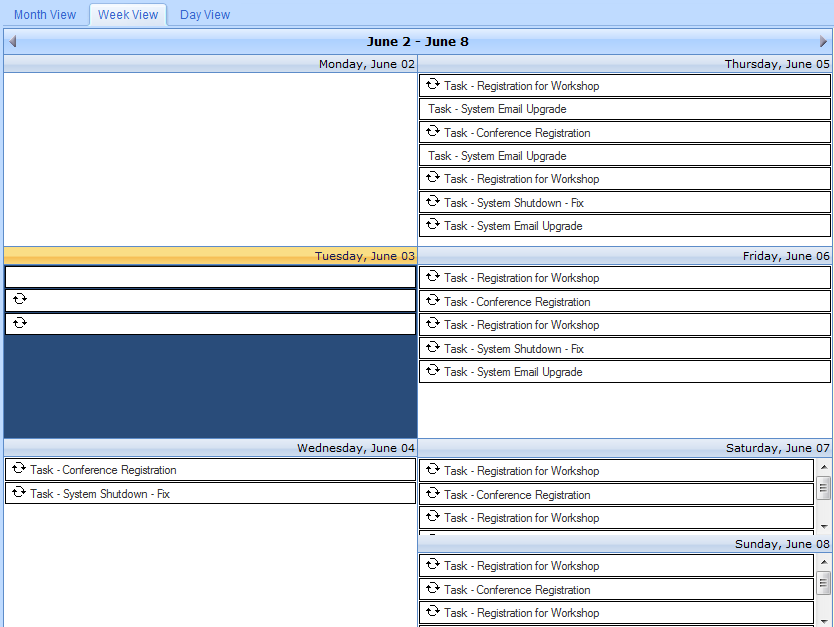
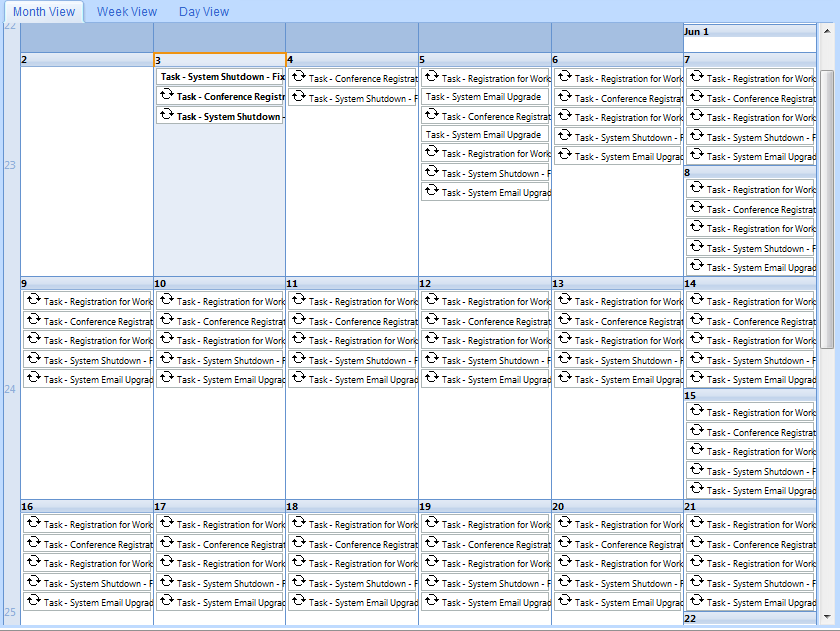
The calendar can be viewed by Day, Week or Month. You can also select from the drop down menu to have the calendar display item by:
Due Date
Start Date
End Date
Created Date
You can also have the view show the entire teams items or only your items. Users can also specify document sources to add, such as:
Meetings
Contacts
Notes
Spreadsheet
File Cabinet
Business Intelligence
All Items
You can double-click on an item to see the details of a specific entry or make any necessary changes.
You can double-click on an item to see the details of a specific entry or make any necessary changes.
You can double-click on an item to see the details of a specific entry or make any necessary changes.
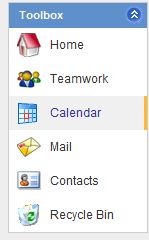
1. Select the Calendar button.
2. Choose the New Meeting button.

3. The New Meeting window will appear as shown below.
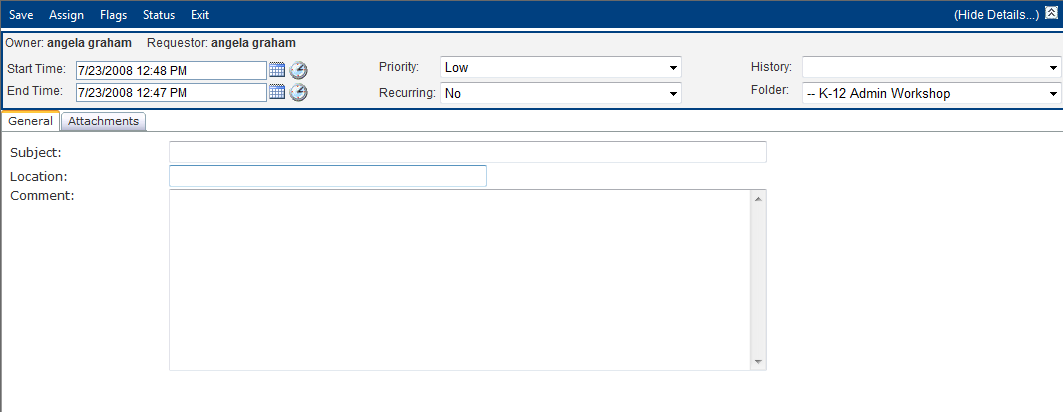
4. Select the Start and End Times and Dates. (Note: You can either type the date and time or you can use the calendar and clock icons to select the appropriate data.)
![]()
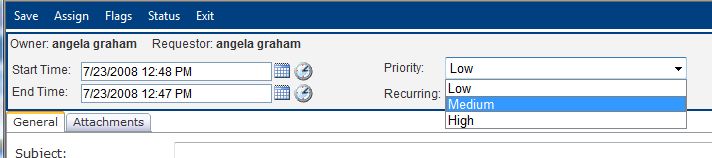
5. Choose a Priority from the drop down menu.
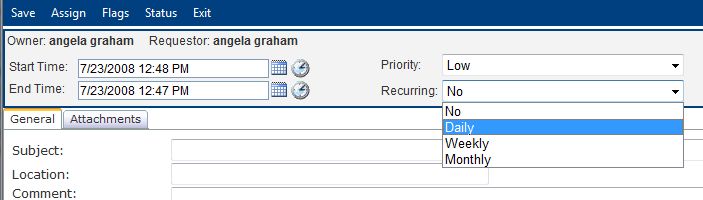
6. Select the Recurrence from the drop down menu.
7. Choose the History and Folder from the drop down menu.
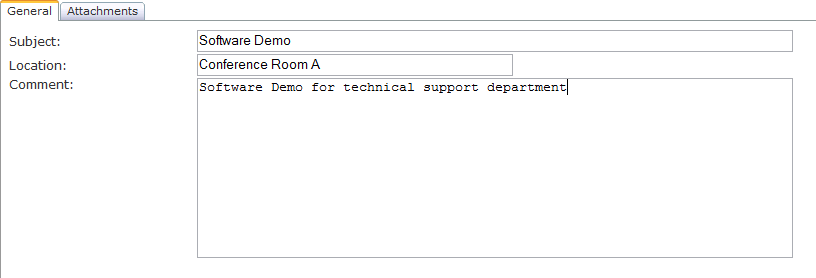
8. Select the General Tab.
9. Enter a Subject for the meeting.
10. Type the Location.
11. Enter any Comments, if necessary.
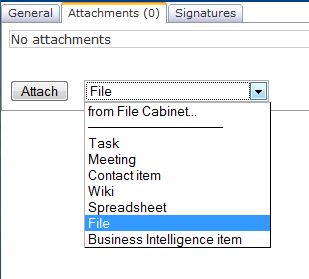
12. Choose the Attachments tab if necessary.
13. Select from the drop down menu the type of item you would like to attach.
14. Click the Attach button.
 .
.
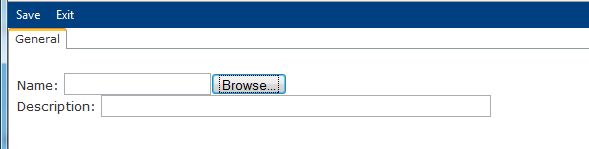
15. Click the Browse button.
16. Select the file to attach and click Save.
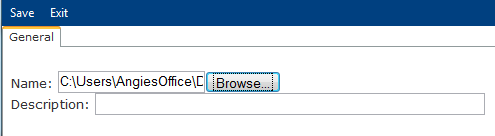
17. Click the Save button.